 Manic Trash Panda
 CHECKFIRE
Combat
A turn is one action. The board tells you what each one would do before you commit.
Move or fire, never both #
Each turn a single unit does one thing: move (chess geometry; a move onto an enemy is a melee capture), fire (weapon geometry), reload, or use a skill. Firing does not move the unit; moving does not fire.
Melee #
A move onto an enemy square captures it, exactly as in chess. Pawns capture diagonally forward, knights jump onto their target, everyone else slides. Melee is always certain and always legal geometry-wise, subject only to the CheckFire rule.
Reload #
The queen's SMG empties when it fires; every skill but Shield Slam empties the unit that used it. An empty unit can still move and melee, but it cannot fire or use a skill until it spends a turn on RELOAD. An Ammo Pack or Resupply Drop reloads without spending the turn (see supplies).
Cover and obstacles #
| Kind | Colour on the board | Movement | Fire |
|---|---|---|---|
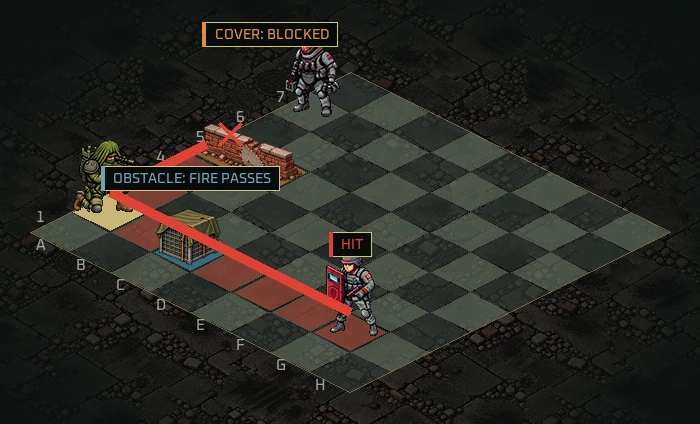
| Obstacle (one tile: wire, logs, drums, rubble) | blue | blocked | passes |
| Cover (two tiles: walls, sandbag lines, wrecks) | orange | blocked | blocked, except grenades |
| Bunker (2×2) | solid | blocked | blocked |
| Objective props | solid | blocked | comms tower: passes (an obstacle) · laptop crate and ammo dump: blocked (cover) |
Knight grenades ignore all of it. Units block movement and ordinary fire for everyone; only grenades and drone strikes go over a unit.
Shields #
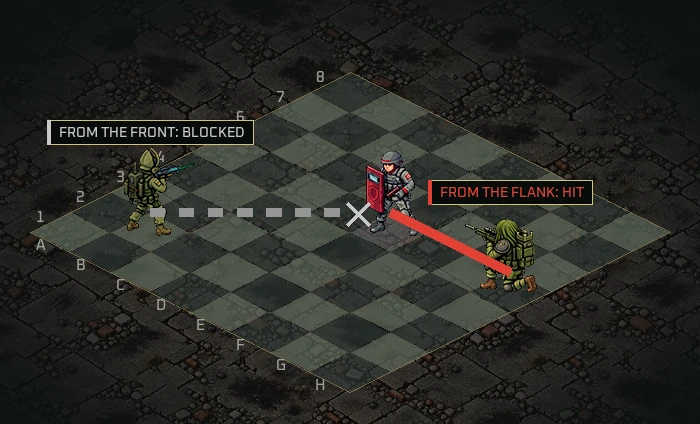
A pawn's riot shield stops ordinary shots that arrive from its front. It does not stop grenades, the Shotgun Decree, a drone strike, or melee.
Mines #
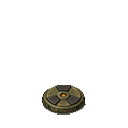
A knight's Hidden Mine (and the Mine Kit supply) plants a mine on an empty square. It is invisible to the enemy until a unit ends a turn next to it; a unit that steps onto it is lost. Once revealed, DISARM is an action for any adjacent unit. Your own units never step onto your own mines. A Shield Slam that pushes a unit onto a mine triggers it.
Reading the board #
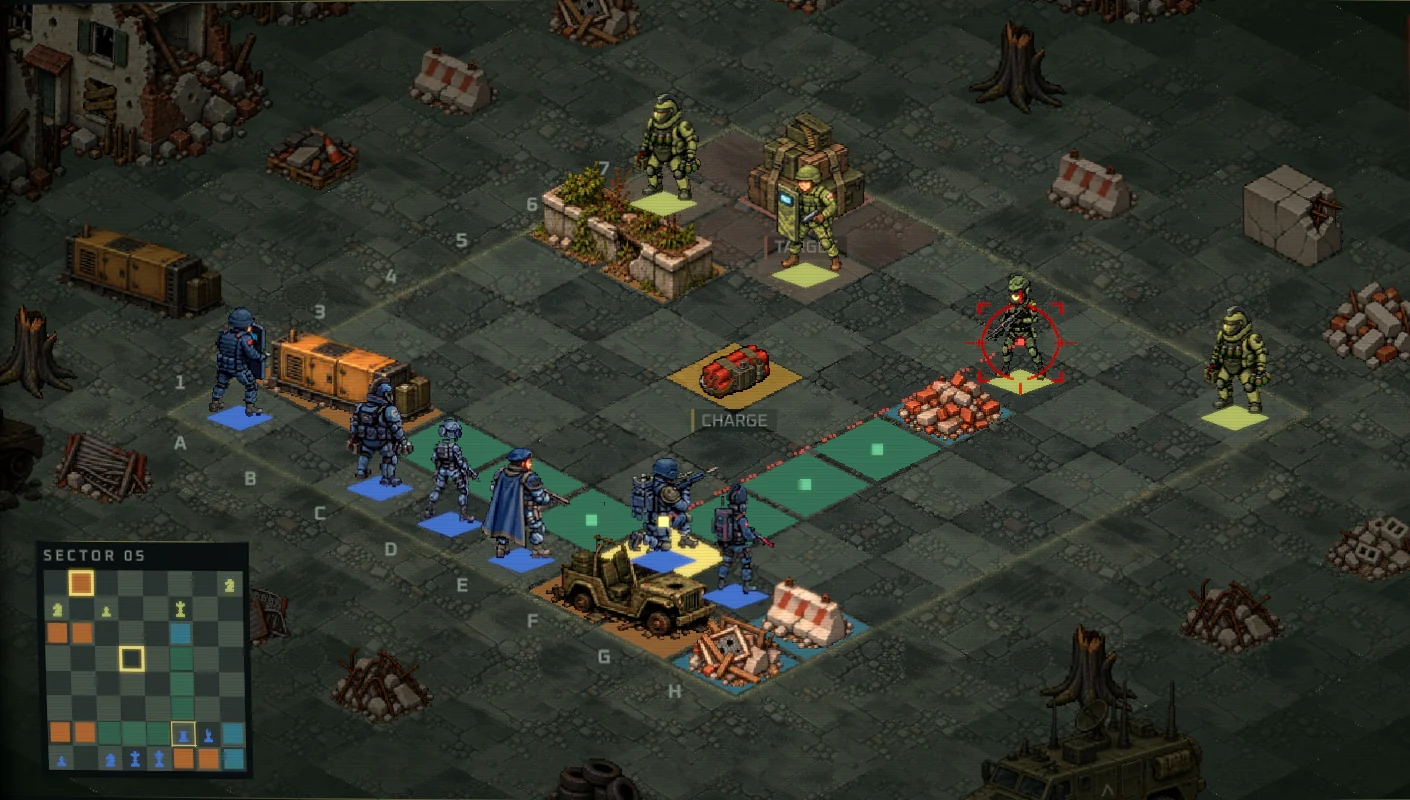
- Gold square: the selected unit. In King of the Hill the zone is fenced, gold while empty and green while you hold it.
- Blue and orange: obstacle and cover, as above. One tile is an obstacle, two tiles are cover.
- Red: fire, threat and danger. The status line under the board goes red when a sector can be lost.
- Laser line: the shot you are about to take, with its hit chance in the HUD.
- HIT / MISS callouts: the outcome, so you never have to guess what the roll did.