 Manic Trash Panda
 CHECKFIRE
Field supplies
Sixteen supplies, six slots. Combat supplies are free actions on the board; cleared-ground supplies only work between fights.
How supplies work #
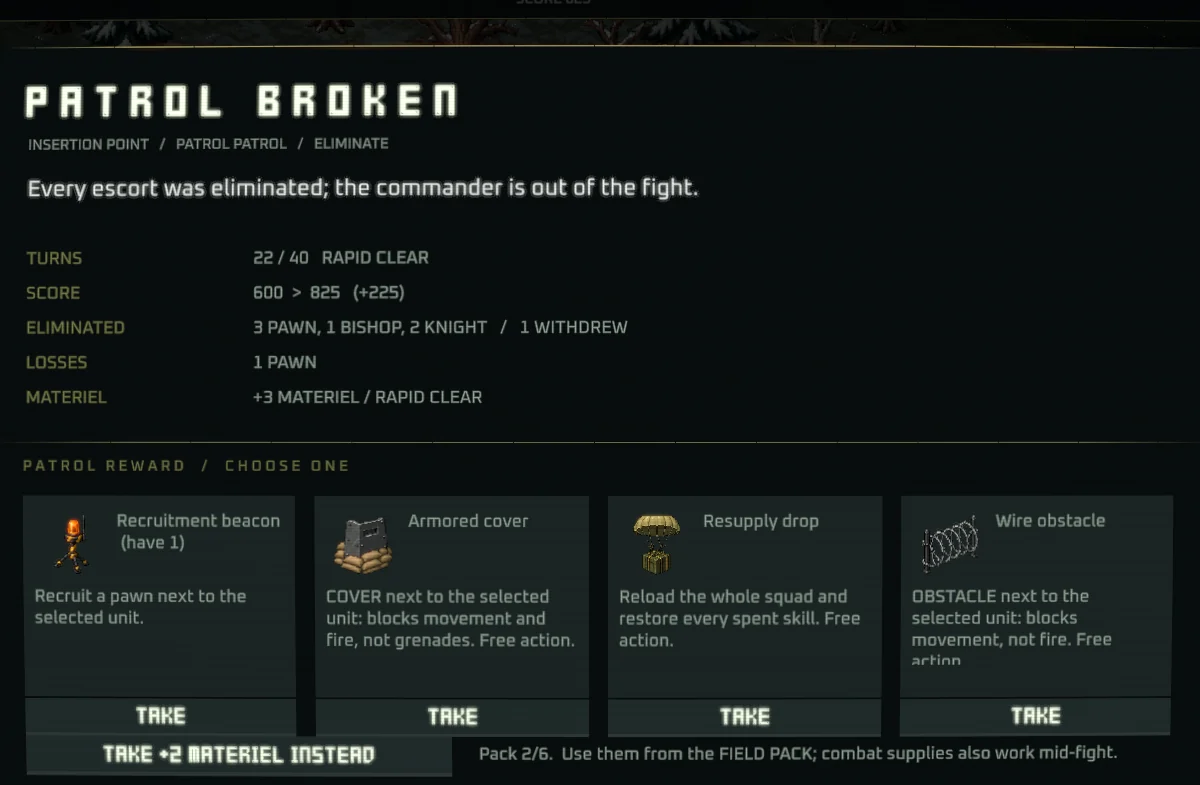
Every broken patrol offers four on the debrief: one cleared-ground supply, one deployable, one combat active and one wild card. Pick one; the Field Pack holds six. Two materiel are offered instead if you would rather.
Combat supplies are free actions on the board: one per turn, and the turn goes on, so an ammo pack means a unit that fires this turn. They are freely usable between fights too. They obey the CheckFire rule, and a supply that ends a threat to the commander counts as an escape. The AI knows how to use them.
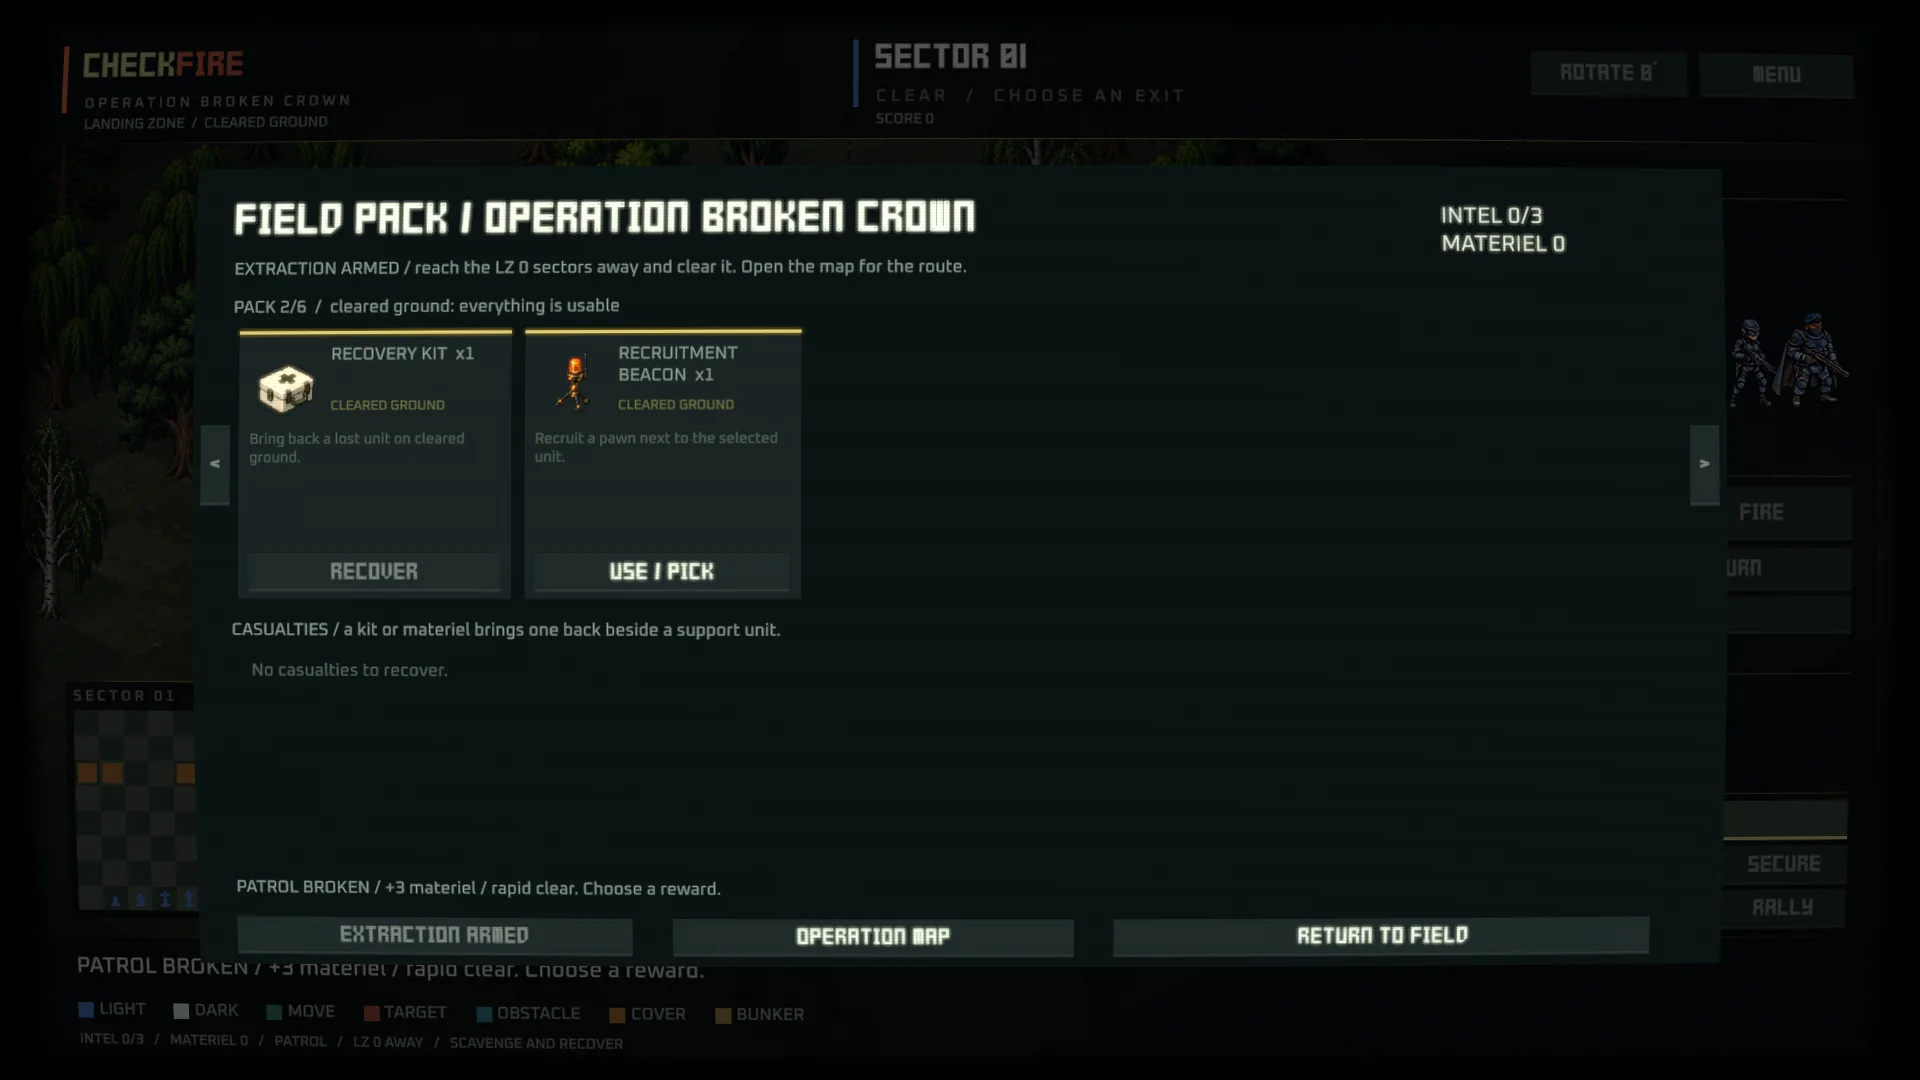
Cleared-ground supplies only work during exploration, after the patrol is broken.
Combat supplies #
| Supply | Effect | |
|---|---|---|
 | Wire obstacle | OBSTACLE next to the selected unit: blocks movement, not fire. Free action. |
 | Armored cover | COVER next to the selected unit: blocks movement and fire, not grenades. Free action. |
 | Mine kit | Hide a mine next to the selected unit. Special abilities only. Free action. |
 | Drone strike | Remove one enemy escort within 4 squares, ignoring cover and shields. Free action. |
 | Ammo pack | Reload the selected unit and restore its skill; it can fire this turn. Free action. |
 | Smoke canister | The selected unit can't be targeted until your next turn. Free action. |
 | Recon drone | Reveal every hidden enemy mine and ambusher on this board. Free action. |
 | Breaching charge | Destroy an obstacle or cover next to the selected unit. Bunkers stay. Free action. |
 | Resupply drop | Reload the whole squad and restore every spent skill. Free action. |
Cleared-ground supplies #
| Supply | Effect | |
|---|---|---|
 | Recovery kit | Bring back a lost unit on cleared ground. |
 | Demolition charge | Remove an obstacle or cover on cleared ground. Bunkers can't be demolished. |
 | Recruitment beacon | Recruit a pawn next to the selected unit. |
 | Intel scanner | The next board's patrol and ground show as ghosts. Broken Crown asks which exit. |
 | Extraction flare | Reveal the landing zone and arm extraction. Its patrol still has to be cleared. |
 | Field promotion | Promote the selected pawn to the knight or bishop the squad lacks. Cleared ground only. |
 | Salvage crate | Four materiel, on the spot. |
Materiel is the operation's currency: patrols broken pay it, a Salvage Crate pays four, and it recovers a casualty on cleared ground when you have no Recovery Kit (two, plus the piece's supply cost).
Using a supply #
USE on a card opens the picker: a large board where you choose the unit that receives or places the supply, then, for a placed or aimed supply (wire obstacle, armored cover, mine, breaching charge, drone strike), the target square. A squad-wide supply (resupply drop, recon drone, scanner, flare, salvage) only asks for a yes. Recovery goes casualty first, then the support unit the casualty returns beside. Mouse and controller use the same picker.